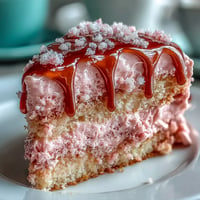
 Pin it
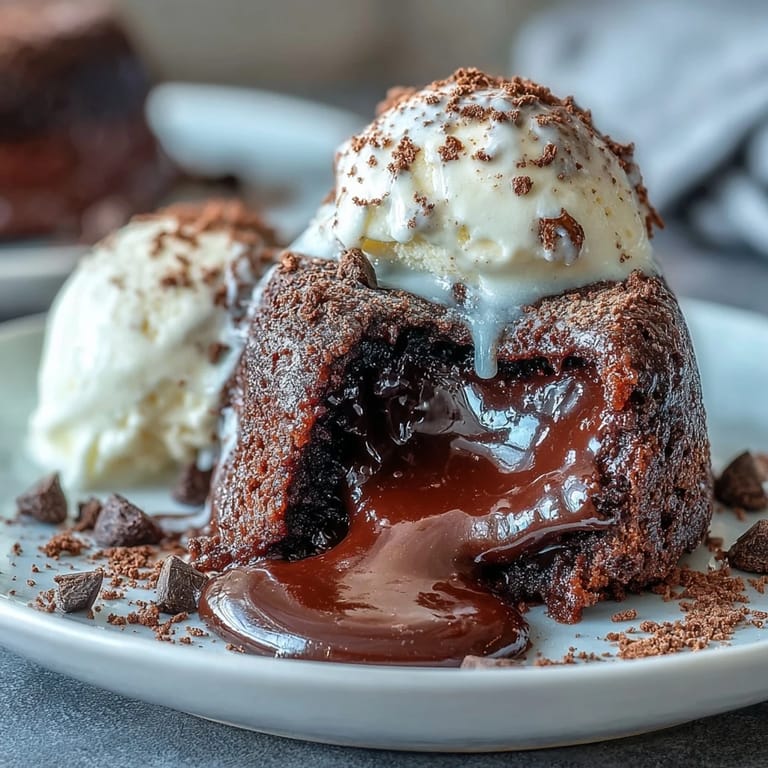
 The kitchen went silent when I pulled these from the oven. I had been experimenting with adding espresso to chocolate desserts for months, but something about the way the steam curled up from these individual cakes told me I had finally gotten it right.
I first served these at a dinner party where everyone was too full for dessert but somehow found room for these. The way people went quiet after that first bite told me everything. Now whenever friends visit, they ask if were having those chocolate cakes.
Ingredients
- 115 g bittersweet or semisweet chocolate: The quality really matters here since chocolate is the star. I have used grocery store brands in a pinch but the texture suffers.
- 115 g unsalted butter: Greasing the ramekins generously is the secret to easy release. I learned this the hard way after scraping stuck cake out with a spoon.
- 2 large eggs plus 2 yolks: Extra yolks create that rich custard like center. Save the whites for breakfast or meringues.
- 100 g granulated sugar: Do not reduce this. Sugar helps structure the cake and keeps the center molten instead of raw.
- 30 g all purpose flour: Sifting prevents lumps and keeps the texture smooth. One time I skipped sifting and found tiny flour pockets in the center.
- 1 tsp instant espresso powder: This deepens the chocolate flavor without making the cake taste like coffee. Grind it finer if the granules are large.
- 1 tsp pure vanilla extract: Use real vanilla. The fake stuff tastes noticeably off in such a simple recipe.
- Pinch of salt: Small but essential. It cuts the sweetness and makes chocolate taste more chocolatey.
Tired of Takeout? 🥡
Get 10 meals you can make faster than delivery arrives. Seriously.
One email. No spam. Unsubscribe anytime.
Instructions
- Prepare your ramekins:
- Butter four 170 ml ramekins thoroughly then dust with cocoa powder. Turn them upside down and tap gently to remove excess. This creates a nonstick coating that looks professional.
- Melt the chocolate base:
- Set a heatproof bowl over simmering water. Melt chocolate and butter together stirring until completely smooth. Set aside to cool slightly so it does not scramble the eggs.
- Whisk the eggs and sugar:
- Beat eggs yolks and sugar until pale and thick. This takes about 3 minutes by hand and creates structure. Do not skip this step.
- Combine chocolate and eggs:
- Stir espresso and vanilla into the melted chocolate. Gently fold this into the egg mixture being careful not to knock out the air you just whisked in.
- Add the flour:
- Sift flour and salt directly into the bowl. Fold until just combined. The batter should be thick and glossy. Stop as soon as you no longer see dry flour.
- Bake until edges are set:
- Divide batter among ramekins. Bake for 11 to 13 minutes. The edges should look firm and pull away slightly but the center will still wobble.
- Unmold immediately:
- Let rest for exactly 1 minute. Run a thin knife around the edge then invert onto plates. Serve right away while the centers are still molten.
 Pin it
 These became a anniversary tradition in our house. There is something intimate about individual desserts still warm from the oven. The first time I made them for just two people instead of a crowd I realized how special that feels.
Making Ahead
You can prepare the batter hours before guests arrive. Cover and refrigerate the filled ramekins then bring them to room temperature while the oven preheats. This actually helps the flavors develop.
Serving Suggestions
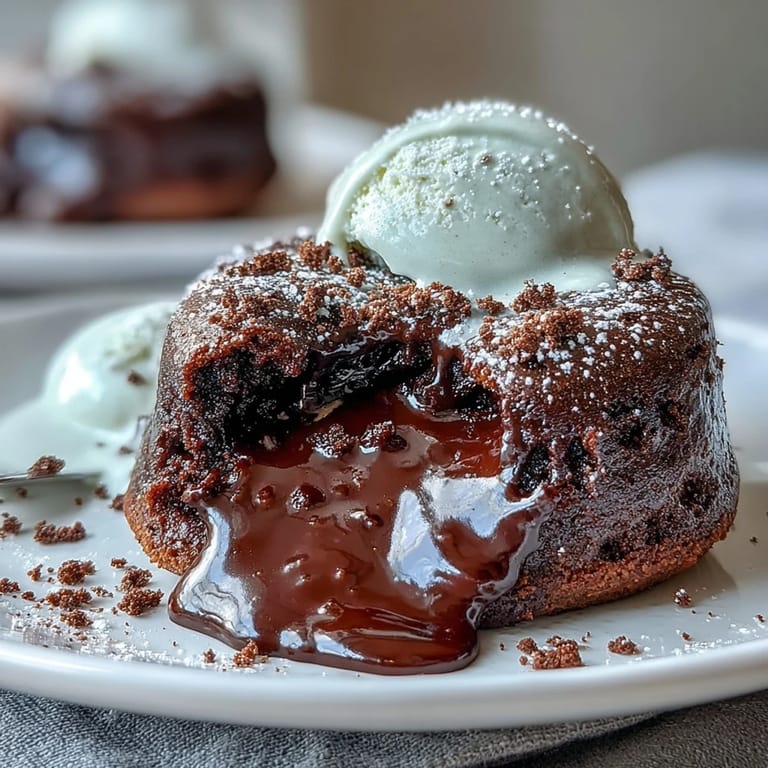
Vanilla ice cream cuts the richness beautifully. Whipped cream works too but something cold and creamy creates the best contrast. I have also served these with fresh raspberries when I want something tart alongside the sweet.
Troubleshooting
If your cakes do not have molten centers either they baked too long or the ramekins were too large. The timing given assumes 170 ml ramekins. Using different sizes changes the baking time significantly.
- Check the visual cues not just the timer. The edges should be set and the center slightly underdone.
- Dark metal ramekins bake faster than glass or ceramic. Adjust time accordingly.
- Practice makes perfect with these. The first batch might not be perfect but you will learn the exact look you want.
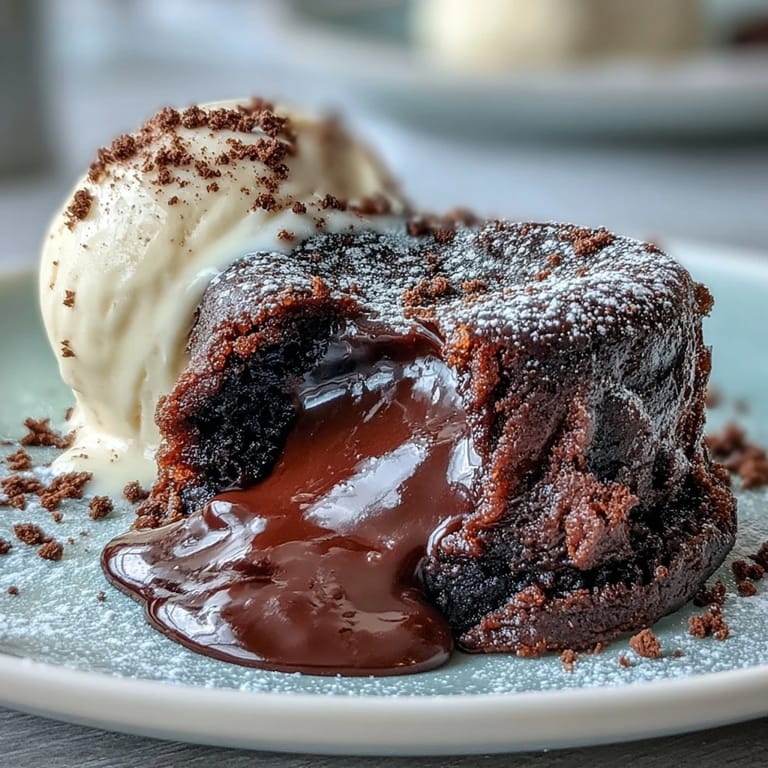
 Pin it
 Watch peoples faces when they break into that center. That moment of discovery is exactly why desserts like these exist.
Recipe FAQs
- → How do I ensure the lava cakes have a molten center?
The key to a perfectly molten center is precise baking time. You'll want the edges to be set and firm, but the very center should still be soft and slightly jiggly when gently shaken. This typically takes 11-13 minutes at 220°C (425°F). Overbaking will result in a fully cooked, firm cake, losing the "lava" effect.
- → Can the batter be prepared in advance?
Yes, you can prepare the batter a few hours ahead of time. Cover it and refrigerate. Before baking, let the batter come to room temperature for about 20-30 minutes, or slightly increase baking time by 1-2 minutes if baking from cold, to ensure the best results.
- → What's the best way to serve these chocolate cakes?
These cakes are best enjoyed immediately after baking while still warm, allowing the molten center to flow beautifully. They pair wonderfully with a scoop of vanilla ice cream, a dollop of freshly whipped cream, or a dusting of powdered sugar.
- → Can I adjust the intensity of the espresso flavor?
Absolutely. The recipe calls for 1 teaspoon of instant espresso powder, which provides a subtle hint that enhances the chocolate. If you prefer a more pronounced coffee note, you can increase the amount to 1½ teaspoons without significantly altering the texture.
- → What kind of chocolate is best for this recipe?
For the richest flavor and best melting consistency, use a good quality bittersweet or semisweet chocolate with a cocoa percentage of 60-70%. Avoid chocolate chips, as they contain stabilizers that can prevent them from melting smoothly. Finely chopped chocolate bars work best.