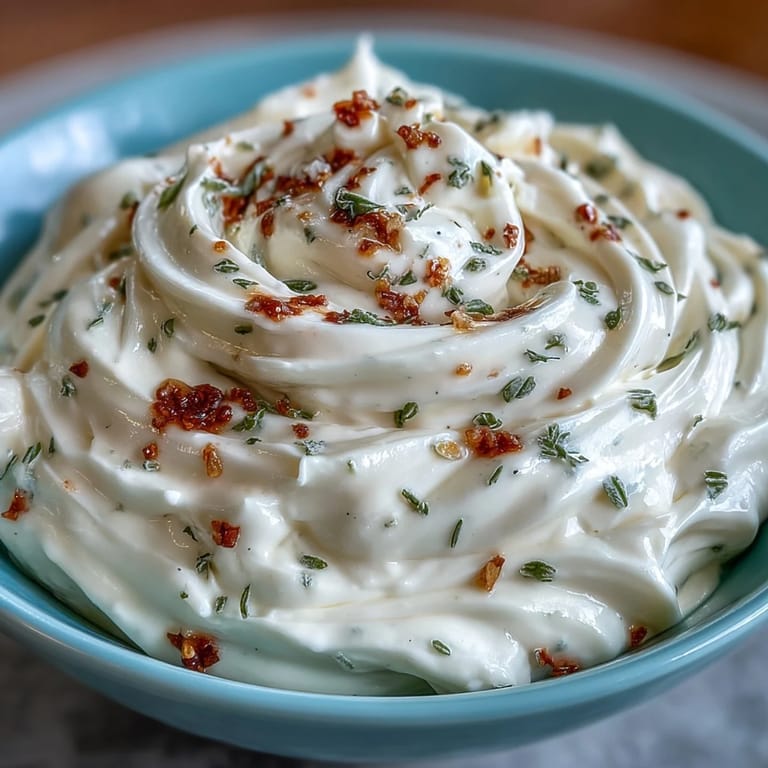
 Pin it
 Last summer, the scent of crushed garlic drifted through my open kitchen window as I experimented with aioli for the first time. The sound of the whisk clinking against the metal bowl punctuated my nervous excitement, and I remember the satisfying moment when the mixture went from slippery to silk. Making mayonnaise felt surprisingly empowering& like I was unlocking a kitchen secret I'd always admired in proper restaurants. Since then, I have discovered the joys of swirling homemade aioli onto everything from grilled asparagus to crunchy chicken burgers. Even a humble bowl of fries becomes special when dipped into this creamy Mediterranean magic.
One Saturday, my cousin came over needing a last-minute appetizer idea, so we ended up making this aioli together and laughed over our clumsy attempts at whisking steadily. Watching her face light up after dipping steamed vegetables into the silky sauce made me realize how easy it was to turn a plain spread into a shared moment. We joked about how the aioli made us feel fancier than we really are. That batch disappeared so quickly& I had to make another before dinner. Our kitchen felt like the busiest bistro& minus the glassware clatter.
Ingredients
- Egg yolk: Using room temperature yolk is key for smooth emulsification& cold eggs can ruin the texture.
- Dijon mustard: This gives subtle sharpness and helps stabilize the sauce& I always reach for the smooth Dijon from the fridge.
- Fresh lemon juice: Adds brightness and balances the richness& squeeze it right before using for the freshest zing.
- Neutral oil (such as sunflower or canola): A flavorless oil makes sure the garlic shines& I learned that olive oil makes it too bitter if overused.
- Garlic cloves: Finely minced or grated garlic infuses every bite& using a microplane gives the best texture and avoids chunkiness.
- Sea salt: Enhances the creamy flavor and pulls everything together& flaky salt looks lovely on top, but mix with fine for consistency.
- Freshly ground black pepper: A few grinds add a gentle heat& I pause to smell the pepper every time because it wakes up the senses.
Tired of Takeout? 🥡
Get 10 meals you can make faster than delivery arrives. Seriously.
One email. No spam. Unsubscribe anytime.
Instructions
- Whisk the base:
- In a medium bowl, combine the egg yolk, Dijon mustard, and lemon juice and whisk until smooth and slightly thickened. It should start to look pale and creamy before you move to the next step.
- Emulsify the oil:
- Begin adding the oil very slowly, drop by drop at first, whisking constantly—patience here pays off, as you'll see it thickening before your eyes. When the emulsification becomes stable, you can pour in the oil in a steady stream, still whisking until the mixture turns luxuriously thick.
- Add the flavorings:
- Stir in your minced garlic, sea salt, and a couple grinds of black pepper. The aioli will develop a garlicky aroma and glossy finish—take a moment to inhale before you taste!
- Adjust and finish:
- Taste the aioli, add more seasoning or lemon juice if you prefer, then transfer it to a clean jar or bowl. Cover and chill; it's best enjoyed within three days for freshest flavor and safety.
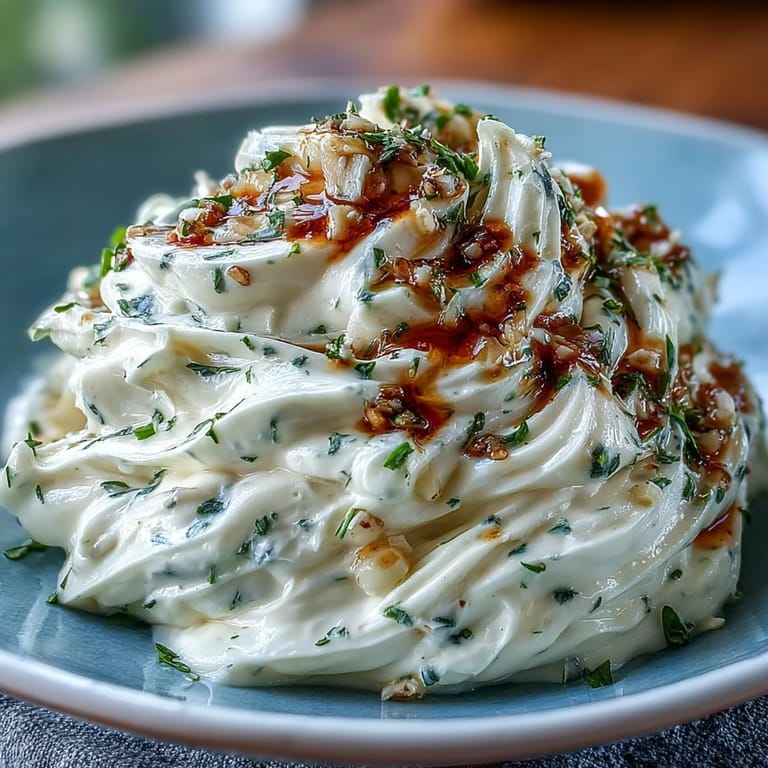 Pin it
 This aioli has become a staple at my kitchen table& one night, my partner suggested mixing in a pinch of smoked paprika and suddenly, our dip was the centerpiece at a cozy dinner. The way guests reached for it again and again—spreading it onto warm bread, dolloping onto grilled fish—showed me how a little homemade sauce could spark joy in every plate. It's the dish that turns leftovers into something worth lingering over. Even our quiet evenings feel brighter when aioli is around. Sometimes it's just the little things that do it.
How Homemade Aioli Changes Every Meal
The first time I spread homemade aioli onto a roast beef sandwich, I realized it brought out layers of flavor the store-bought kind never could. Even simple roasted potatoes get an upgrade& guests usually ask what's in the sauce. Having a jar in the fridge means spontaneous snacking suddenly feels more intentional. It's a boost for everyday meals—plus, you can tweak flavors endlessly. A drizzle on steamed green beans or inside a veggie wrap makes lunch more satisfying.
Mistakes I Made (And How To Fix Them)
Once, I accidentally used olive oil instead of canola, and the aioli turned bitter and didn’t set up right—so now I double check the label. When my whisking got too lazy, the sauce split& fixing it meant starting over with fresh yolk and slowly whisking the broken batch back in. Don't be shy about tasting as you go& a pinch more salt or a squeeze of lemon can rescue it. If garlic flavor is too sharp, roast it for a deeper mellow taste. It’s all about paying attention to the little details.
Ways To Personalize Your Aioli
Over time, I've experimented with tossing in chopped fresh herbs, a sprinkle of smoked paprika, or even minced jalapeño for a kick. Sometimes, we'll make a batch minus the garlic for a creamy spread that's mild and versatile. My favorite variation is using roasted garlic instead of raw—softer flavor, perfect for sandwiches. Keep an eye on the thickness as you add flavorings& sometimes you need a drop more lemon juice or oil. Homemade aioli really becomes your own creation after a few tries.
- If making vegan aioli, swap the yolk for aquafaba and add extra mustard for stability.
- Store in the fridge, covered, and use within three days for safety.
- Don’t forget to label your jar& garlicky aioli looks like plain mayo at first glance!
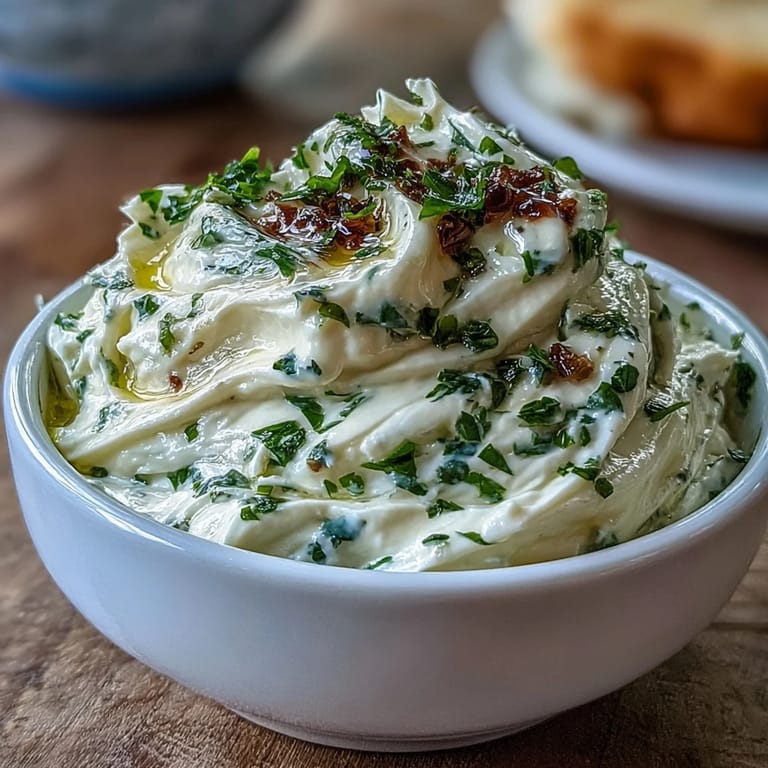 Pin it
 This creamy aioli has a way of making each meal memorable& whether it’s a casual lunch or a holiday spread, it always brings everyone together. Keep a batch handy and you'll find new ways to celebrate simple food every week.
Recipe FAQs
- → Can I use roasted garlic instead of raw?
Yes, roasted garlic creates a milder, sweeter flavor and can easily be substituted for raw minced garlic.
- → Is there a vegan option available?
For a vegan version, replace the egg yolk with aquafaba and add more mustard for emulsification.
- → How can I vary the flavor?
Smoked paprika or chopped herbs like parsley or chives can be added for extra depth and variety.
- → What oils work best for this preparation?
Neutral oils such as sunflower or canola are ideal to let the garlic flavor shine, but olive oil can also be used.
- → How long does garlic aioli keep in the fridge?
Store covered in the refrigerator for up to three days, and always check for freshness before using.
- → What are common allergens in this dish?
Egg and mustard are key allergens. Always check labeling for oils and mustards for possible hidden allergens.