Pin it
 My cousin's graduation party last June demanded something special, and I found myself staring at a blank kitchen counter wondering what could feed twenty-four people and actually taste like celebration. This vanilla sheet cake emerged from that moment—not fancy or complicated, but the kind of dessert that shows up, feeds a crowd, and somehow becomes the memory everyone mentions months later. There's something about the simplicity of good vanilla that works magic at milestone moments.
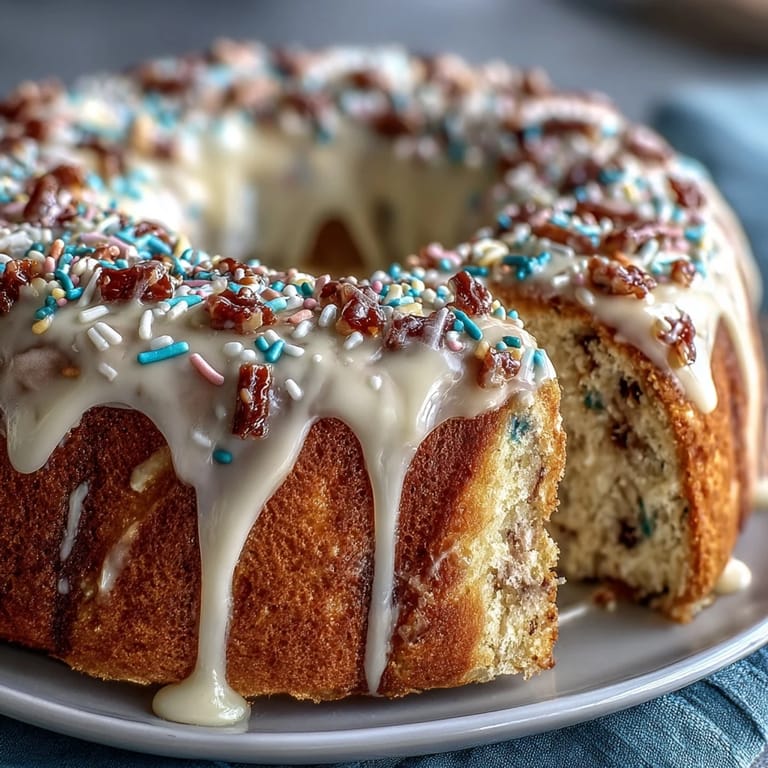
That June afternoon, I watched my kitchen transform into party headquarters as friends arrived early to help frost and decorate. Someone accidentally knocked over the sprinkles container, which sent us all laughing while we swept glitter-colored confetti off the counter and picked individual pieces out of the frosting. By the time we carried the cake to the table, it looked like pure joy in sheet form.
Ingredients
- All-purpose flour (3 cups): Use fresh flour if you can—old flour sits in pantries and loses its lift, which I learned the hard way when a cake came out slightly dense.
- Baking powder and baking soda (2½ tsp and ½ tsp): These two work together to create that perfect fluffy crumb, so don't skip either one or substitute carelessly.
- Salt (½ tsp): A tiny pinch that makes the vanilla flavor sing louder than you'd expect.
- Unsalted butter (1 cup plus 1 cup for frosting): Room temperature is non-negotiable here—cold butter won't cream properly and you'll end up with a grainy, sad cake.
- Granulated sugar (2 cups): The beating process with butter is what traps air into the mixture, so don't rush those three minutes of creaming.
- Eggs (4 large): Room temperature eggs blend smoothly into the batter without creating lumps or curdling the mixture.
- Vanilla extract (1 tbsp plus 2 tsp): Real vanilla makes a noticeable difference, though if you only have imitation on hand, it still works.
- Whole milk (1½ cups plus ¼ cup for frosting): Room temperature milk incorporates evenly into both cake and frosting without shocking the other ingredients.
- Powdered sugar (4 cups): Sift it before measuring, which takes thirty seconds and prevents lumpy frosting.
- Gel food coloring (optional): Way better than liquid food coloring because it doesn't thin out your frosting.
- Graduation-themed sprinkles or edible decorations: This is where personality happens—choose something that feels like the person you're celebrating.
Tired of Takeout? 🥡
Get 10 meals you can make faster than delivery arrives. Seriously.
One email. No spam. Unsubscribe anytime.
Instructions
- Heat your oven and prepare the pan:
- Set your oven to 350°F and grease that 12x18-inch sheet pan thoroughly—sides, corners, everything. Line it with parchment paper so the cake releases cleanly and you're not wrestling with stuck edges.
- Whisk the dry ingredients:
- Combine flour, baking powder, baking soda, and salt in a medium bowl, then set it aside so everything is ready to go. This prevents you from scrambling mid-mix and accidentally forgetting something.
- Cream butter and sugar until fluffy:
- Beat them together for about three full minutes—the mixture should look pale and light, almost like frosting itself. This is where air gets incorporated, which is what makes your cake fluffy rather than dense.
- Add eggs one at a time:
- Drop in one egg, beat well, then repeat until all four are incorporated. This gradual approach keeps the batter smooth instead of curdled.
- Mix in vanilla extract:
- Alternate dry ingredients and milk:
- Add about half the flour mixture, mix gently on low speed, then pour in half the milk and mix again. Finish with the remaining flour and milk, stirring just until you don't see streaks of white—overmixing at this stage creates tough cake.
- Pour and spread batter into the pan:
- Spread it evenly with a spatula, taking a moment to make sure the thickness is consistent across the pan.
- Bake until golden and set:
- Bake for 28 to 32 minutes—your oven might be slightly different, so start checking around the 25-minute mark with a toothpick. It should come out clean with maybe a crumb or two clinging to it.
- Cool completely in the pan:
- Let it sit on a wire rack for at least an hour—rushing this step and frosting warm cake creates a melty mess.
- Make the buttercream:
- Beat room-temperature butter until creamy, then gradually add sifted powdered sugar while mixing on low to prevent it from flying everywhere. Pour in vanilla, milk, and salt, then beat on high for a couple minutes until it's fluffy and spreadable.
- Frost and decorate:
- Spread the buttercream evenly across the cooled cake, then add your graduation decorations while the frosting is still soft enough to stick them on.
- Slice and serve:
- Cut into squares and watch people's faces light up.
 Pin it
 After everyone ate and the party wound down, my cousin texted me a photo of the empty cake plate with the message 'they kept asking for the recipe.' That's when I realized this cake had stopped being dessert and became evidence of a good day.
Why This Cake Works for Celebrations
Sheet cakes exist for a reason—they feed crowds without pretension, and there's something democratic about slicing a rectangular cake that feels more inclusive than cutting a fancy round layer cake. The vanilla flavor doesn't compete with conversation or the moment itself; it just quietly tastes good and lets the celebration be the real star. When you're feeding twenty-four people, you want something reliable, not temperamental.
Storage and Make-Ahead Options
You can bake the cake layers a day ahead and wrap them tightly in plastic wrap, which actually helps them stay moist. The buttercream also keeps for several days in an airtight container, so you could frost the morning of your event without stress. Leftovers stay fresh at room temperature for one day if you cover them loosely, or refrigerate for up to four days when properly covered—though honestly, leftovers rarely last that long.
Customizing for Your Crowd
The beauty of this recipe is how it adapts to whoever you're celebrating. Add school colors with gel food coloring, personalize with piping bags and custom messages, or mix in a half teaspoon of almond extract if you want subtle extra flavor. If you need it gluten-free, swap the all-purpose flour for a 1:1 gluten-free baking blend and it works just as well.
- Piping bags let you write names or dates directly onto the frosting for that extra personal touch.
- Buy decorations that match the person's style—minimalist, colorful, sporty, artistic—because cake design tells its own story.
- If you're nervous about decorating, remember that imperfect and homemade looks infinitely better than store-bought perfection.
 Pin it
 This cake has shown up at graduations, celebrations, and quiet family dinners because it proves that the best recipes are the ones people actually want to make and eat. Make it, share it, let it become part of someone's memory.
Recipe FAQs
- → What type of flour works best for this cake?
All-purpose flour creates a balanced texture, but a gluten-free blend can be substituted for dietary needs.
- → How can I achieve a fluffy texture?
Creaming butter and sugar thoroughly and alternating dry and wet ingredients gently ensures a light, airy crumb.
- → Can I customize the frosting color?
Yes, gel food coloring can be added to the vanilla buttercream for themed decorations or personal preference.
- → How should the cake be stored after serving?
Store leftovers covered at room temperature for one day or refrigerated up to four days for freshness.
- → Are there any tips for decorating the cake?
Use piping bags for detailed borders or messages, and apply graduation-themed sprinkles for festive flair.
- → Is it possible to add extra flavor to the cake?
A small amount of almond extract can be added to the batter for a subtle, complementary flavor boost.