 Pin it
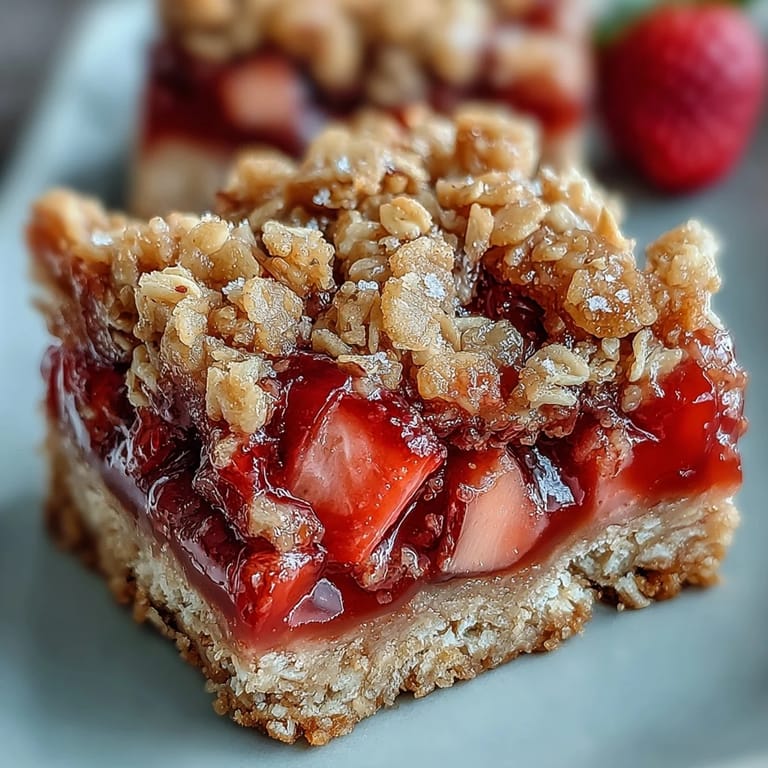
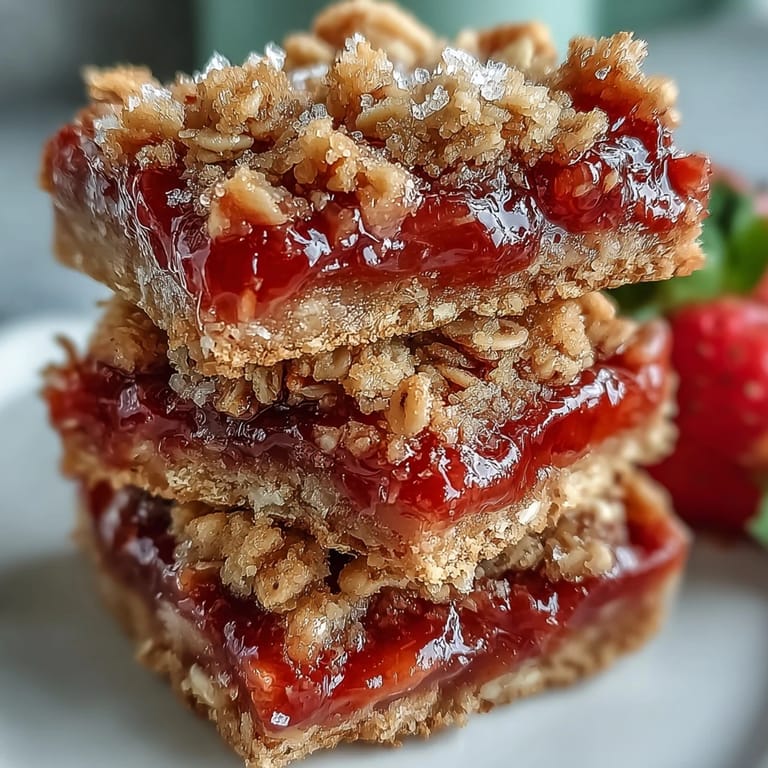
 Every year when the first rhubarb stalks appear at our local market, something compels me to buy a few bundles even if I havent figured out their fate yet. The clash of sweet and tart in these strawberry rhubarb crumble bars was a happy accident one rainy May afternoon, when strawberries threatened to turn before I could snack on them all. I remember the kitchen humming with that earthy scent as butter met sugar and cinnamon in the bowl. The results surprised me: a bar that managed to be cheery, gooey, and just crumbly enough to leave powdered sugar evidence on every fingertip. For once, dessert outlasted the day without disappearing immediately.
The last time I made these for a family picnic, my uncle—never a dessert person—quietly asked if he could take a few extra home. News spread, and by the end of the afternoon, everyone was haggling over the last sticky-crumble-edged piece. It always amazes me how a simple pan of bars can bring together people of vastly different tastes. There are never leftovers, but always lots of smiles. I half suspect the secret appeal is that buttery oat layer no one can resist picking at.
Ingredients
- All-purpose flour: I always sift it for a lighter base and to avoid any hidden lumps that ruin the crumbly texture.
- Rolled oats: They add a rustic chew, so use old-fashioned oats instead of quick-cooking for crunch that stands up in the oven.
- Granulated sugar: Keeps the bars just sweet enough; if you use a coarser sugar, be sure it fully dissolves in the mix.
- Light brown sugar: This little bit of molasses flavor rounds out the sweetness—pressed firmly into the measuring cup for the perfect amount.
- Salt: Resist the urge to skip it, because that pop of salt is what makes the fruit and crumble sing.
- Ground cinnamon: Just a touch brings warmth without overpowering the fruit—it’s my grandmother’s trick for almost every bar recipe.
- Unsalted butter (melted): Don’t rush the melting; give it a minute to cool or you’ll scramble your sugars and lose that perfect crumbliness.
- Fresh strawberries (hulled and diced): Ripe, juicy strawberries are the soul of the filling; any leftover can brighten up oatmeal or yogurt the next morning.
- Fresh rhubarb (diced): Ignore the pale green stalks; wait for the bright pink ones for the prettiest (and most flavorful) filling.
- Granulated sugar (filling): You really need it to tame rhubarb’s tart bite—don’t worry, it won’t turn the bars cloying.
- Cornstarch: It’s the magical thickener that keeps the filling from oozing out; mix it well so there’s never a chalky bite.
- Vanilla extract: A small splash deepens the filling’s flavor and just makes the whole thing smell like summer vacation.
- Lemon juice: A squeeze brightens everything—don’t leave it out, even if you think strawberries do all the heavy lifting.
Tired of Takeout? 🥡
Get 10 meals you can make faster than delivery arrives. Seriously.
One email. No spam. Unsubscribe anytime.
Instructions
- Prep the pan:
- Line your baking pan with parchment paper and let the edges hang over—later, you’ll thank yourself when lifting out the bars for neat slicing.
- Mix the crumble:
- Stir together flour, oats, both sugars, salt, and cinnamon, then gently pour in melted butter and mash with a spatula until the mixture looks like clumpy wet sand.
- Form the crust:
- Firmly press most of the crumb mixture into the prepared pan, smoothing it evenly so it holds together during baking.
- Toss the fruit:
- In a clean bowl, toss strawberries and rhubarb with sugar, cornstarch, vanilla, and lemon juice until every bit glistens and clumps are gone.
- Layer and top it:
- Spoon the fruit filling over the crust, spreading it to every corner, then sprinkle the reserved crumble gently over the top for lots of crunchy texture.
- Bake:
- Slide your pan into the oven and let the aroma drift through your kitchen; watch for bubbles at the edges and an irresistibly golden top.
- Cool and cut:
- Let the bars cool completely—seriously, patience is key—or you’ll end up with a delicious mess instead of tidy squares.
 Pin it
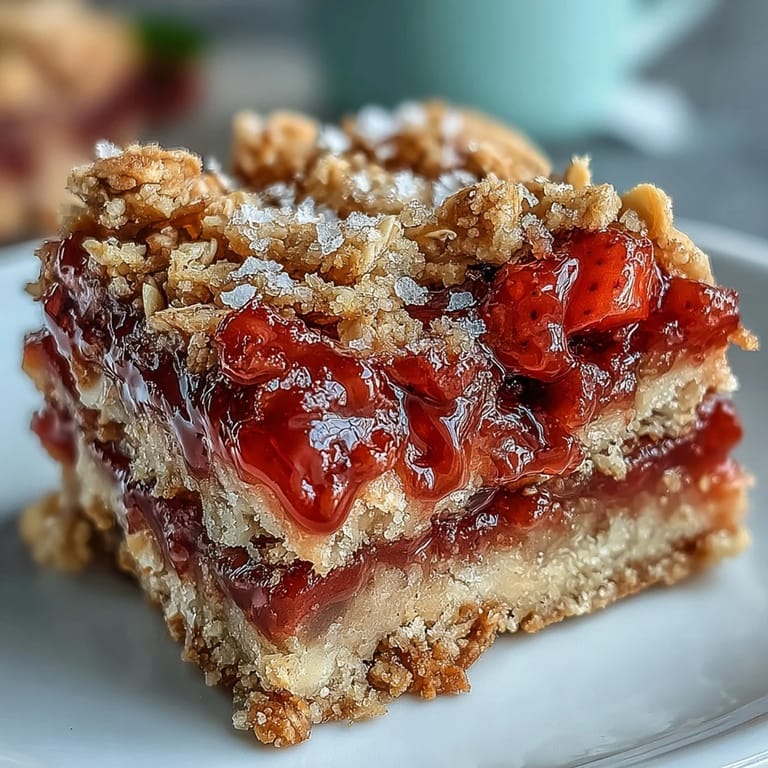
 One evening, my friend stopped by with unexpected news and I pressed a warm bar into her hand before she could even get her shoes off. That bite seemed to loosen the conversation, and for a moment, the kitchen felt like the safest place in the world. Sometimes, the simplest desserts carry more comfort than words. I still remember her amazed look when she realized there was rhubarb tucked inside. She left with the recipe scrawled on an old grocery slip.
Fruit Filling Tricks That Changed My Bars
My rhubarb used to sink to the bottom until I started cutting it into very small cubes and tossing it extra-thoroughly in the cornstarch mixture. Letting the fruit sit for a few minutes before layering helps it turn juicy, almost like pie filling, but without that soupy mess. The combination of vanilla and lemon cuts through the tartness and gives a more rounded, jammy tang. If your strawberries are very ripe, cut the sugar in the filling by a couple of tablespoons to keep everything balanced. Taste as you go—everyone’s berries are different, and that’s half the fun.
Making the Most of the Crumble
I learned the hard way that pressing the crust too lightly leads to crumbly chaos when slicing. Use the flat bottom of a measuring cup to pack the layer down evenly without compacting it into a brick. Save a little extra crumble for the center if you want a thick, butter-forward bite halfway through each bar. Don’t skimp on the cinnamon as it adds a mellow warmth that sticks with you after every bite. Cool bars on a wire rack for perfectly crisp edges, even when humidity attacks your kitchen.
Serving, Storing, and Sharing
Once cool, these bars travel well—wrap them individually for park picnics or keep them stacked between parchment in a tin for a weekend road trip. My fridge always rewards me with a firmer bite after a chilly overnight rest, and they taste almost as good on day three as fresh from the pan. For special occasions, a little powdered sugar dusting is magic.
- Serve with softly whipped cream to turn bars into a plated dessert.
- Swap out half the strawberries for blueberries if that's what you have.
- Always double-check oats and flour labels if baking for someone gluten-free.
 Pin it
 Few things feel more generous than sharing a tray of homemade bars at the height of strawberry season. I hope some juicy, sun-warmed crumbs find their way to your table soon.
Recipe FAQs
- → How do I avoid a soggy bottom?
Toss the fruit with enough cornstarch to thicken released juices and avoid overfilling the pan. Press the base firmly and bake until the filling is bubbling and the top is golden. Cooling completely in the pan helps the filling set so bars cut cleanly.
- → Can I use frozen strawberries or rhubarb?
Yes—thaw and drain most of the excess liquid before mixing with the thickener. You may need a bit more cornstarch to compensate for added moisture; drain well to prevent a watery filling.
- → What swaps work for gluten-free diets?
Use certified gluten-free rolled oats and a 1:1 gluten-free flour blend in place of all-purpose flour. Check labels on all packaged ingredients to ensure they are certified gluten-free.
- → How long do these bars keep and how should I store them?
Store in an airtight container at room temperature for up to 2 days, or refrigerate for up to a week. Bring to room temperature before serving for best texture, or serve chilled if preferred.
- → Can I make these ahead or freeze them?
Yes—cool completely, then wrap individual bars tightly or layer with parchment in an airtight container. Freeze up to 3 months. Thaw in the fridge or at room temperature and warm briefly if you like them soft.
- → Any good substitutions for butter or sugars?
For the crust, cold coconut oil works in a 1:1 swap but will change flavor and texture slightly. You can balance white sugar with extra light brown sugar for a deeper caramel note; reducing sugar will affect filling set and sweetness.